How to apply microcement step by step: complete guide for covering floors
Microcement is a versatile material that adapts to any decorative style, but its application requires experience and a good understanding of the small details to achieve a professional finish. In this post, we will explain step by step how to applymicrocement to floorsand walls.
The application process depends on the surface to be covered and the current state of the substrate. It's important to consider whether the surface is exposed to heavy foot traffic, high temperatures, humidity or sunlight. It is also necessary to think about whether themicrocementis going to be applied in an indoor or outdoor space.
The condition of the substrate is an important consideration for the applicator, who needs to consolidate the surface before thinking about applying the selected product.
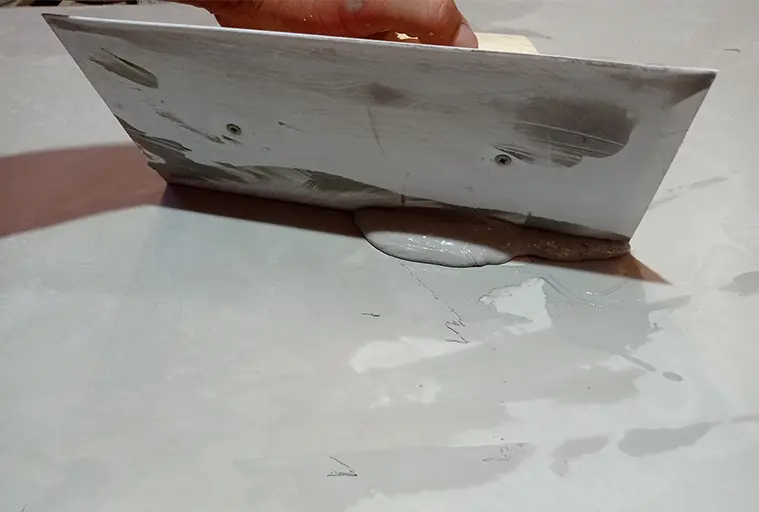
Application of microcement on the floor using a rubber trowel
Where can microcement be applied?
The decorative solutions offered by microcement are unique, as its application results in finishes that provide high decorative value. The most common application of this material is on the floors and walls of bathrooms and kitchens, as well as in outdoor spacesoutdoors.
At MyRevest we have a wide range of products to createMicrocement bathroomsor coating kitchens and terraces. We manufacture a microcement that offers maximum hardness, flexibility, and excellent workability. The versatility of this product is combined with the possibility of having a continuous pavement without joints that does not crack. In other words, a continuous surface that is easy to clean and without areas where dirt gets embedded.
Applying our microcements is synonymous with providing any surface with an exquisite style to achieve elegant atmospheres.
How to apply microcement on tile floors?
Applying microcement on a tile floor is an excellent option to speed up renovations because it is not necessary to lift the pavement to cover the surface.
Furthermore, the microcement adheres without problems thanks to the use of primers and the resins with which it is formulated, whether the tiles are smooth or textured. On tiles, it is not possible to apply the fresh on fresh technique, that is, to apply on a wet layer. By not letting one of the layers dry, the moisture would filter through and the tile joints would be marked.
Apply preparation microcement for grouting
The application of preparation microcement such as MyBase allows leveling the joints of the tiles or tiles so that they are at the same height as the rest of the pavement. After applying this product, a drying time of 24 hours must be allowed, and then the surface must be sanded with 40 grain sandpaper.
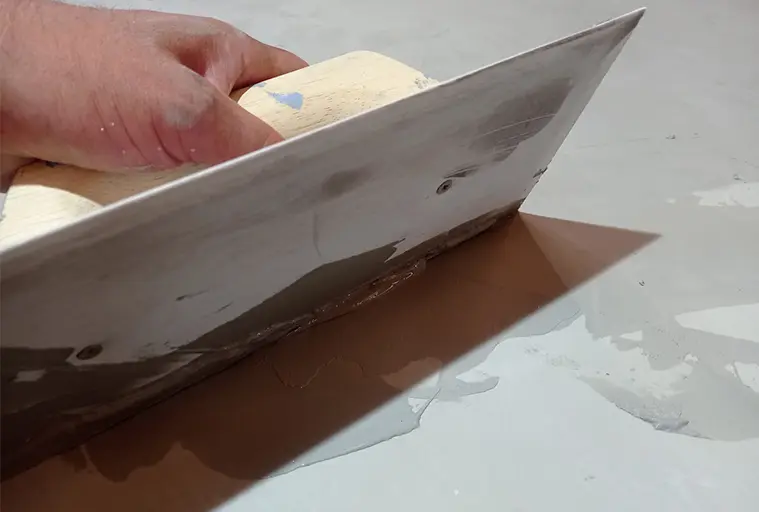
Rubber trowel to distribute the microcement on the pavement
Apply primer for non-absorbent surfaces
Theprimer for non-absorbent surfacesconsolidates the support that will be coated and improves the adhesion of the microcement layer. Once an adhesion promoter or union bridge such as MyPrimer 200 has been applied, the fiberglass mesh is placed.
The primer layer, used to facilitate the bonding of the microcement to the existing support, requires a drying time that ranges between 30 minutes and 24 hours. This time depends on the environmental conditions of the place of application, as well as the primer used.
First layer of preparation microcement without pigment
The third step is to apply the first coat of preparation microcement without pigment. This layer requires a 12-hour drying time, after which it should be sanded with a 40-grit paper to correct any imperfections.
Apply second coat of primer for non-absorbent surfaces
The second coat of an adhesion promoter for non-absorbent surfaces, such as MyPrimer 200, requires a drying time of 30 minutes.
Second coat of preparation microcement with pigment
Apply the second coat of preparation microcement with the desired pigment. This coat requires a 24-hour drying time and a 40-grit paper.
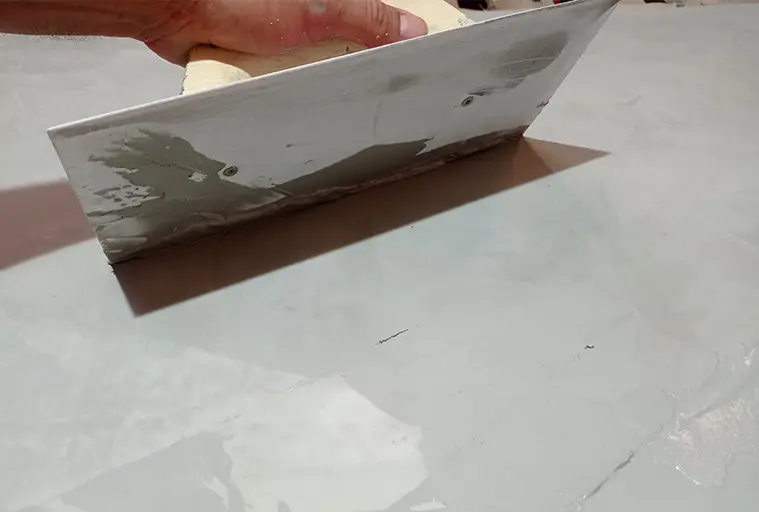
Application of preparation microcement on the floor of a non-absorbent surface
First coat of microcement for floors with pigment
With the support leveled, consolidated and the preparation microcement applied, it is time to achieve a professional and high-quality finish. For this, the first coat of microcement for floors must be applied. This coat needs a 3-hour drying time and then sand the surface with an 80-grit paper.
Second coat of microcement for floors with pigment
Apply the second coat of microcement for floors with pigment and let it dry for 24 hours. Then sand the support with an 80-grit paper. It is always necessary to take into account the temperatures and the environmental conditions of the site where the material is being applied for the drying times.
Two layers of acrylic varnish to protect the microcement
Once the preparation and finishing microcement has been applied, the only thing left to do is complete the process with sealing the surface. Two layers of a water-based acrylic varnish like MyCover need to be applied, which acts as a pore filler primer and helps waterproof the surface.
The first coat of acrylic varnish requires a drying time of 4 hours. The second coat has a drying time of 12 hours, and then the surface must be sanded with a 400 grit sandpaper.
Apply two coats of polyurethane varnish
The sealing process is completed with the application of two layers of theMySealant 2K polyurethane varnish, which offers super matte, matte, satin and glossy finishes. Drying time between coats is 12 to 24 hours, depending on environmental conditions. After the first coat, the surface must be sanded with a 400 grit sandpaper, while the last coat does not need any sanding.
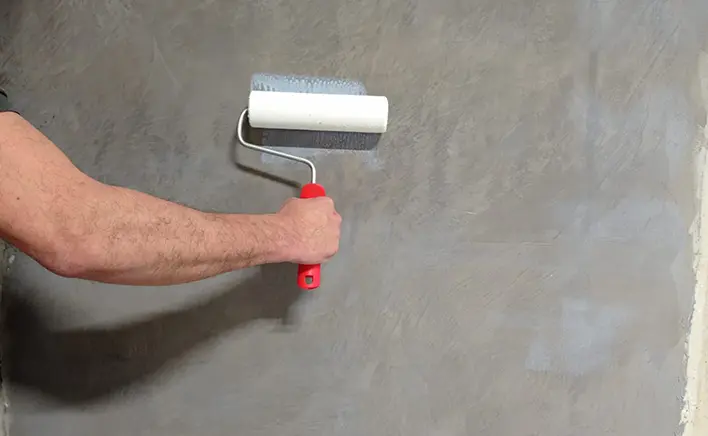
Application of water-based polyurethane varnish to seal the microcement coating and beautify the finish
How to apply microcement on absorbent floors?
As we mentioned earlier, the versatility of microcement makes it the ideal material to cover any type of support. It is perfect for coating absorbent cementitious surfaces without generating debris.
Application of resin as primer
On absorbent surfaces, such as cement, concrete or self-leveling; theMyResin acrylic resinis used as a primer to improve the microcement's adhesion.
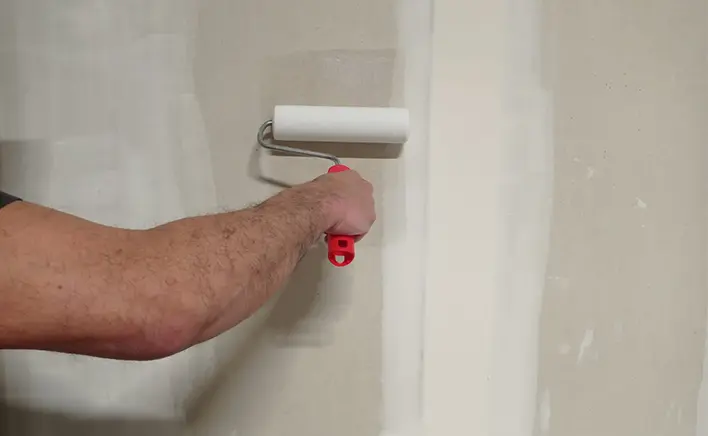
Application of primer on an absorbent surface to consolidate the support and facilitate the microcement's adhesion
First layer of the unpigmented preparation microcement
With the support consolidated and prepared, the fiberglass mesh is placed and then the unpigmented preparation microcement is applied. The mesh prevents the appearance of cracks in the coating. The preparation microcement layer requires a drying time of 3 hours and afterwards it should be sanded with a 40 grit sandpaper.
Second layer of pigmented preparation microcement
Apply the second coat of preparation microcement, also allowing a drying time of three hours. Once the surface is completely dry, it must be sanded with 40-grit sandpaper.
Apply two coats of finishing microcement for floors
Before starting the sealing process, two coats of finishing microcement for floors need to be applied. In the case of MyFloor, the first coat must be applied with pigment and should be allowed to dry between 3 and 5 hours. The second coat is applied with pigment and requires a drying time of 24 hours.
Once it has dried, at the end of each coat the surface must be sanded with 80-grit sandpaper.
Two coats of pre-sealing primer
To complete a professional sealing, two coats of pre-sealing primer, like the MyCover acrylic varnish, must be applied. The first coat of varnish has a drying time of 4 hours, and the second 12 hours. The last coat, once it is dry, must be sanded with 400-grit sandpaper.
Apply two coats of sealing varnish
The microcement application process, just like tile floors, is completed with two coats of sealing varnish. At MyRevest we apply MySelant, a water-based polyurethane varnish with high abrasion resistance. After the first coat, you must allow 24 hours of drying time and sand the surface with 400-grit sandpaper. The second and final coat also requires the same drying time.